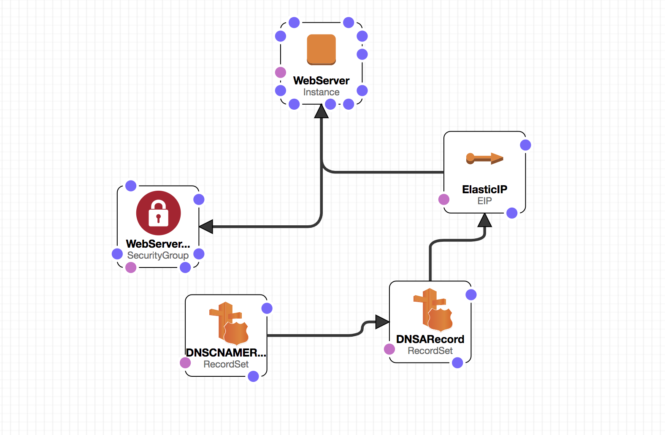
Let’s first get these things out of the way. This CloudFormation Template is for a Personal Blog. The primary objective of this exercise is minimizing the cost. Therefore you will not see any RDS instances or Multi AZ deployments. Everything will be installed on a single EC2 instance to keep the costs low. If you are concerned about losing data, take Snapshots frequently so that you can restore from a Snapshot if a disaster strikes.
This template is based on the Amazon CloudFormation Template here. In addition to the features available there I have added the following to make it more complete.
- Elastic IP Association to prevent Public IP changes if the EC2 instance is stopped
- Route 53 DNS with support for an Apex Domain Assignment
- Enable HTTPS
- HTTP to HTTPS Redirection
- Non WWW to WWW Redirection
- Automated Certificate Renewal via a Cron Job
Prerequisites
A Route 53 Hosted Zone
For Domain assignment you will need a Route 53 Hosted Zone. It will be a Hosted Zone created by Route 53 Registrar for Domains purchased from Amazon or a Hosted Zone created by you for Domains purchased outside. Here is an article on how to Setup a GoDaddy domain with Route 53.

A Key Pair in the Region
Generate a Key Pair in the Region you want the WordPress Blog or use an existing Key Pair.
The Deployment
Clone this to your local machine. In about 15 minutes your site should be up and running.
It may take a little more than 5 minutes after successful Stack creation for HTTPS enablement.


Final Steps
Hit the URL in the Output Tab and install WordPress.
As explained before there is no way to recover the Data if you lose the EC2 instance. Therefore take frequent Snapshots.
Source Code
The Source Code is available here.


